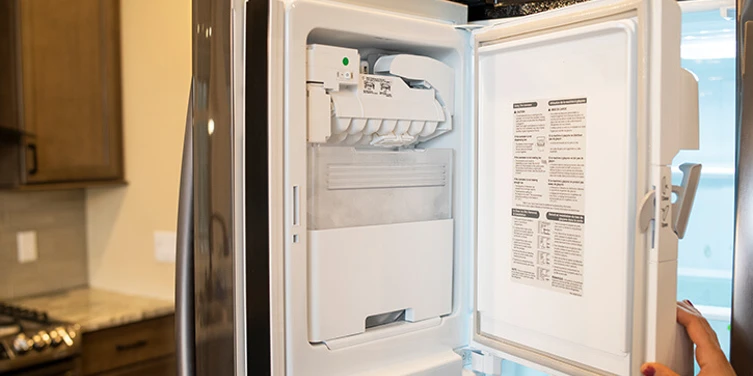
How to Clean an Ice Machine

There is nothing more refreshing than an ice-cold drink—but not if your ice tastes bad or is secretly dirty. Learn how to clean an ice maker (either free-standing or in a freezer) by checking out the steps below, and discover why ice maker cleaning is such an important chore.
How to Clean an Ice Machine in Seven Steps
Clean your ice machine or ice maker at least once every six months. If your ice maker has an automatic wash cycle, follow the manufacturer's instruction manual to clean the unit. For manual cleaning, follow the simple steps outlined below:
1. Turn Off and Unplug the Appliance
This will prevent the risk of shock or injury. After unplugging the unit, remove the ice basket and scoop, and set them aside for cleaning. Remove any other easily removable parts as well; this step varies depending on the make and model of your ice maker.
2. Drain the Water (If Applicable)
If your ice maker or machine has a water reservoir, locate the drain plug, and prepare to drain water from the reservoir into a container or your sink. Pull the plug, and wait until the water has drained.
3. Wipe Down the Interior
Make a cleaning solution with a 10:1 ratio of warm water and one of these ingredients: white vinegar, lemon juice, nickel-free ice machine cleaner, or other cleaning agent recommended by the manufacturer. Wash the ice machine’s interior walls and hard-to-reach areas, such as the slot where ice comes out. Rinse the ice maker well with water, and wipe it dry with a clean cloth.
4. Clean the Removable Parts
Clean the ice basket, scoop, and any other removable parts in the sink with mild dish soap. Set these parts aside to dry.
5. Clean the Exterior
Wipe down the exterior parts of the ice maker using a soft cloth and warm, soapy water. Dry it with a clean towel.
6. Reassemble and Start the Machine
Reassemble the ice maker, and ensure the drain plug (if applicable) is in place. Plug in the unit, and turn it on.
7. Optional: Make Ice with Your Cleaning Solution
Note: This step only applies if your ice maker has a water reservoir.
Fill the water reservoir with the cleaning solution you used for the rest of this process. Make a batch of ice, and discard the ice cubes in the sink. Unplug the ice maker, and drain the cleaning solution from the reservoir into a container or the sink. With the reservoir drain plug still removed, pour clean water through the reservoir and let it drain in the same manner. Rinse the unit several more times before reinserting the plug. Now you can resume making ice as usual!
Why Clean Your Ice Maker?
If neglected, your ice maker may begin to grow mold and bacteria and collect mineral deposits. The resulting scaly buildup may have a negative impact on your health or shorten the lifespan of the machine. Cleaning is an important part of caring for all appliances, and ice makers are no exception.
If you’re finding yourself with a broken ice machine already, don’t fret. Bring in Mr. Appliance® experts to fix it by scheduling appliance repair online or connecting with your local team.
Signs You Need to Clean Your Ice Maker
Once you've chosen the best ice maker to suit the needs of your family and lifestyle, it's important to maintain it and watch for signs of wear.
These are some signs you need to clean your ice maker:
- Your ice has an unpleasant taste or odor.
- The ice cubes are smaller than normal.
- The ice feels softer and melts faster than usual.
- The ice has a cloudy appearance.
- There are visible signs of mold, mildew, or other debris on the interior of the ice machine.
- It has been six months or more since your last ice maker cleaning.
Having Other Ice Maker Problems?
If your ice maker isn't making ice, try our troubleshooting tips. If that doesn’t work for you or you’re just too busy, schedule an appointment with Mr. Appliance at a convenient time, and your local experts will take care of it!
Freezers and ice machines are important for maintaining food safety and availability. Beyond the ice maker cleaning tips in this post, another way to prevent appliance breakdowns is to install a backup generator to keep things running during power outages.
 Click to call


